Navigation Links
Progressive Web Application Using React - Part Three
What will we be doing in this Tutorial?
We will allow users to add the subreddits they are interested in, We will make use of Web App Manifest to allow users to add our application to their homescreen.
We will also make use of webpack offline-plugin and write our own methods for caching API response.
If you haven't read Part One and Part Two of this tutorial series, Please do so continuing forward.
We have lot to cover so let's get started.
Before we get started
Let's delete the file src/components/Data.js as we will make use of actual data from now on., If you're running yarn watch you will encounter few errors.. Ignore it as we wil fix it later in this tutorial.
We will also make use of localforage package to save data locally, Run the command yarn add --dev localforage to add localforage as our dependency.
Step #1: Adding CSS to make our App look Good
Create a file named src/css/reset.css and add this code in it.
/* http://meyerweb.com/eric/tools/css/reset/
   v2.0 | 20110126
   License: none (public domain)
*/

html, body, div, span, applet, object, iframe,
h1, h2, h3, h4, h5, h6, p, blockquote, pre,
a, abbr, acronym, address, big, cite, code,
del, dfn, em, img, ins, kbd, q, s, samp,
small, strike, strong, sub, sup, tt, var,
b, u, i, center,
dl, dt, dd, ol, ul, li,
fieldset, form, label, legend,
table, caption, tbody, tfoot, thead, tr, th, td,
article, aside, canvas, details, embed,
figure, figcaption, footer, header, hgroup,
menu, nav, output, ruby, section, summary,
time, mark, audio, video {
	margin: 0;
	padding: 0;
	border: 0;
	font-size: 100%;
	font: inherit;
	vertical-align: baseline;
}
/* HTML5 display-role reset for older browsers */
article, aside, details, figcaption, figure,
footer, header, hgroup, menu, nav, section {
	display: block;
}
body {
	line-height: 1;
}
ol, ul {
	list-style: none;
}
blockquote, q {
	quotes: none;
}
blockquote:before, blockquote:after,
q:before, q:after {
	content: '';
	content: none;
}
table {
	border-collapse: collapse;
	border-spacing: 0;
}
This is just a CSS reset I downloaded from http://meyerweb.com/eric/tools/css/reset/, If you don't know why we need it, Please Google for CSS Reset
Create another file named src/css/typography.css and add this code in it
h1 {
	font-size: 26px;
	line-height: 28px;
	font-weight: normal;
}


h2 {
	font-size: 20px;
	line-height: 23px;
	font-weight: normal;
}
Let's create our final css file named src/css/helper.css and add this code in it
/* Loading indicator styles: start */
.component-loading {
	display: flex;
	width: 100%;
	position: absolute;
	max-height: 100%;
	margin: 100px 0;
	justify-content: center;
}
.component-loading .loading-bar-container {
	border: 3px solid rgb(106, 209, 255);
	padding: 2px;
}
.component-loading .loading-bar-container .bar {
	width: 100%;
	min-width: 240px;
	margin: 0 auto;
	height: 18px;
	background-image:
	repeating-linear-gradient(
		-45deg,
		#DDD,
		#DDD 11px,
		#FFF 10px,
		#FFF 20px
	);
	background-size: 28px 28px;
	animation: move 1s linear infinite;
}
.component-loading .loading-text {
	font-size: 13px;
	color: #777;
	line-height: 20px;
	margin-top: 5px;
}
@keyframes move {
	0% { background-position: 0 0; }
	100% { background-position: 28px 0; }
}
/* Loading indicator styles: end */


.full-height-wrapper {
	display: flex;
	justify-content: center;
	height: calc( 100vh - 64px );
}
The component-loading class will be used to style the very first loading message/screen we see when the page is loaded and javascript is still being requested.
Step #2: Updating our HTML Code
Edit the file scripts/index.js and replace the existing code with this code.
<!doctype html>
<html lang="en">
<head>
	<meta charset="utf-8" />
	<meta http-equiv="X-UA-Compatible" content="IE=edge">
	<title>Reddit PWA</title>
	<link rel="icon" href="/images/favicon.ico">
	<meta name="viewport" content="width=device-width, initial-scale=1, initial-scale=1, shrink-to-fit=no">

	<link rel="manifest" href="/manifest.json">
	<meta name="theme-color" content="#00bcd4">

	<!-- place all the generated css files here -->
	<% for (var css in htmlWebpackPlugin.files.css) { %>
		<link href="<%= htmlWebpackPlugin.files.css[css] %>" rel="stylesheet">
	<% } %>
</head>
<body>

	<div id="root">
		<div class="component-loading">
			<div class="loading">
				<div class="loading-bar-container"><div class="bar"></div></div>
				<p class="loading-text">Loading... Please wait.</p>
			</div>
		</div>
	</div>

	<!-- place the generated manifest file here, inline. -->
	<%= htmlWebpackPlugin.files.webpackManifest %>

	<!-- place all the generated js here -->
	<% for (var chunk in htmlWebpackPlugin.files.chunks) { %>
		<script defer src="<%= htmlWebpackPlugin.files.chunks[chunk].entry %>"></script>
	<% } %>

</body>
</html>
As you can see we have added two new tags in the head section
First: <link rel="manifest" href="/manifest.json">, This will include our manifest file which we haven't created yet and
Second: <meta name="theme-color" content="#00bcd4">, This will make the browsers that support theme-color tag to use this color as background for the header bar and address bar.
And the html code within the #root div is for showing a loading bar while the javascript is still being loaded.
Step #3: Creating a Helper file for Local Database Storage
Create a file named src/utils/DB.js and add this code in it.
'use strict';

import localforage from 'localforage';
import _ from 'lodash';

// documentation
// https://github.com/localForage/localForage

class DB {

	// add new subreddit
	addSubReddit( data ) {
		return localforage.getItem('sub_reddits')
			.then( res => {
				if ( ! res ) {
					localforage.setItem('sub_reddits', [ data ])
						.then( output => {
							return output;
						});
				}
				if ( res && res.length > 0 ) {
					const updated = res;
					updated.push(data);
					localforage.setItem('sub_reddits', updated )
						.then( output => {
							return output;
						});
				}
			})
	}

	// find subreddit by its url
	findSubRedditByURL(url) {
		return localforage.getItem('sub_reddits')
			.then( (records) => {
				if ( records && records.length > 0 ) {
					const record = _.find( records, { url: url } );
					return record;
				}
			});
	}

	// find and return all subreddits
	findAllSubReddits() {
		return localforage.getItem('sub_reddits')
			.then( (records) => {
				return records;
			});
	}


}

export default new DB;
This helper file will easily allow us to add and get all the items from our local database., We will add more methods in this file in upcoming tutorial.
Step #4: Updating our App.js File
Edit the file src/app.js and replace it's entire code with this code.
'use strict';

import React from 'react';
import { render } from 'react-dom';

import { BrowserRouter as Router, Route, Switch } from 'react-router-dom'
import MuiThemeProvider from 'material-ui/styles/MuiThemeProvider';

// import all the custom styles
import 'app/css/reset.css';
import 'app/css/style.css';
import 'app/css/helper.css';
import 'app/css/typography.css';


// Needed for onTouchTap
// It's a mobile-friendly onClick() alternative for components in Material-UI
import injectTapEventPlugin from 'react-tap-event-plugin';
injectTapEventPlugin();

import DefaultLayout from 'app/ui/layouts/Default';

import Dashboard from 'app/ui/pages/Dashboard';
import SubReddit from 'app/ui/pages/SubReddit';
import Settings from 'app/ui/pages/Settings';


import { install } from 'offline-plugin/runtime';


// render the component
render(
	(
	<Router>
	<MuiThemeProvider>

		<DefaultLayout>
			<Route exact path="/" component={ Dashboard } />
			<Switch>
				<Route exact path="/dashboard" component={ Dashboard } />
				<Route exact path="/settings" component={ Settings } />
				<Route path="/:id" component={ SubReddit } />
			</Switch>
		</DefaultLayout>

	</MuiThemeProvider>
	</Router>
	),
	document.getElementById('root')
);


// install the service worker.
install();
We just included the new css files we added earlier, We also imported this method import { install } from 'offline-plugin/runtime'; and called it in the bottom of our file.
The install method will setup everything needed for our service worker, This won't work for now.. but we will get back to this later.
Step #5: Updating our Dashboard Page
Edit the file src/ui/pages/Dashboard.js and add this code in it.
'use strict';

import React from 'react';
import Paper from 'material-ui/Paper';

import { List } from 'material-ui/List';
import Subheader from 'material-ui/Subheader';
import SubRedditItem from 'app/components/SubRedditItem';
import FloatingActionButton from 'material-ui/FloatingActionButton';
import ContentAdd from 'material-ui/svg-icons/content/add';

import EmptySubReddits from 'app/components/empty/SubReddits';
import SubRedditModal from 'app/components/modal/SubReddit';

import DB from 'app/utils/DB';
import Loading from 'app/components/Loading';


class Dashboard extends React.Component {

	constructor(props) {
		super(props);
		this.state = {
			modal: false,
			loading: true,
			subreddits: [],
		};
		this.handleModalOpen = this.handleModalOpen.bind(this);
		this.handleModalClose = this.handleModalClose.bind(this);
		this.handleModalUpdate = this.handleModalUpdate.bind(this);
		this.findAllSubReddits = this.findAllSubReddits.bind(this);
	}


	componentDidMount() {
		this.findAllSubReddits();
	}


	findAllSubReddits() {
		DB.findAllSubReddits()
		.then( (res) => {
			if ( res ) {
				this.setState({ loading: false, subreddits: res });
			} else {
				this.setState({ loading: false });
			}
		});
	}


	handleModalOpen() {
		this.setState({ modal: true });
	}
	handleModalClose() {
		this.setState({ modal: false });
	}
	handleModalUpdate() {
		this.findAllSubReddits();
	}


	render() {

		// if the content is loading
		if ( this.state.loading ) {
			return <Loading text="Loading sub reddits" />
		}


		// if the content is empty
		if ( this.state.subreddits.length < 1 ) {
			return (
				<div>
					<EmptySubReddits openModal={ this.handleModalOpen } />
					<SubRedditModal
						open={ this.state.modal }
						close={ this.handleModalClose }
						update={ this.handleModalUpdate } />
				</div>
			)
		}


		// when we find the content
		return (
			<Paper style={{ padding: 20, }} zDepth={1} rounded={false}>

				<List>
					<Subheader style={{ textTransform: 'uppercase' }}>Sub Reddits</Subheader>
					{ this.state.subreddits.map( item => <SubRedditItem key={ item.url } data={ item } /> ) }
				</List>

				<FloatingActionButton style={{ position: 'fixed', bottom: 50, right: 50 }} onTouchTap={ this.handleModalOpen }>
					<ContentAdd />
				</FloatingActionButton>


				<SubRedditModal
					open={ this.state.modal }
					close={ this.handleModalClose }
					update={ this.handleModalUpdate }
				/>

			</Paper>
		)
	}

}

export default Dashboard;
Lot's of code, Yes. But its all very simple, We are just importing few components and displaying them based on the data we have.
Our findAllSubReddits method will find all the subreddits user has added and store it in our state.
We show Loading component when the data is still being fetched, We show EmptySubReddits component if user has not yet added any subreddits and we show the List component if the user has added atleast one subreddit.
SubRedditModal component takes care of displaying the form for adding new sub reddit.
handleModalOpen, handleModalClose, handleModalUpdate methods just handle the state for our "SubRedditModal" Modal component.
Let's create the components we just imported.
Create a file named src/components/empty/SubReddits.js and add this code in it
'use strict';
import React from 'react';
import Paper from 'material-ui/Paper';
import muiThemeable from 'material-ui/styles/muiThemeable';
import RaisedButton from 'material-ui/RaisedButton';
const container_style = {
padding: 50,
background: 'transparent',
display: 'flex',
flexDirection: 'column',
justifyContent: 'center',
marginTop: -100,
}
const EmptySubReddits = (props) => {
return (
<div className="full-height-wrapper">
<Paper style={ container_style } zDepth={1} rounded={false}>
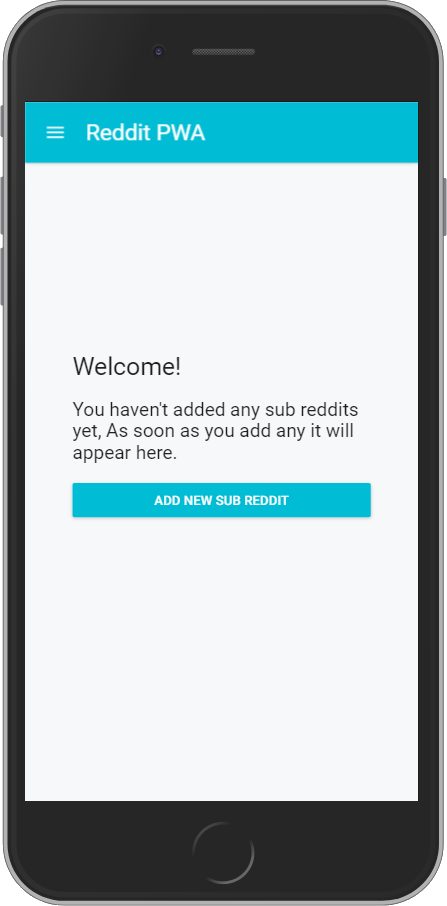
<h1 style={{ color: props.muiTheme.palette.textColor }}>Welcome!</h1>
<h2 style={{ color: props.muiTheme.palette.textColor, marginTop: 20 }}>You haven't added any sub reddits yet, As soon as you add any it will appear here.</h2>
<RaisedButton
label="Add New Sub Reddit"
style={{ marginTop: 20 }}
primary={true}
onTouchTap={ props.openModal } />
</Paper>
</div>
)
}
export default muiThemeable()(EmptySubReddits);
This component just shows a message saying user has not added any subreddits yet.
Let's create our SubReddit Modal component, Create a file named src/components/modal/SubReddit.js and add this code in it
'use strict';
import React from 'react';
import Dialog from 'material-ui/Dialog';
import FlatButton from 'material-ui/FlatButton';
import TextField from 'material-ui/TextField';
import DB from 'app/utils/DB';
import Loading from 'app/components/Loading';
class SubRedditModal extends React.Component {
constructor(props) {
super(props);
this.state = {
title: '',
url: '',
description: '',
invalid_url: false,
processing: false,
};
this.updateField = this.updateField.bind(this);
this.submit = this.submit.bind(this);
}
updateField( field, value ) {
if ( field != 'url' ) {
this.setState({ [field]: value });
} else {
if( /s/g.test(value) ) {
this.setState({ [field]: value, invalid_url: true });
} else {
this.setState({ [field]: value, invalid_url: false });
}
}
}
submit() {
const title = this.state.title;
const url = this.state.url;
const description = this.state.description;
this.setState({ processing: true, title: '', url: '', description: '', invalid_url: false });
return DB.addSubReddit({ title, url, description })
.then( res => {
this.setState({ processing: false });
this.props.update();
this.props.close();
});
}
render() {
const actions = [
<FlatButton
label="Cancel"
primary={ true }
onTouchTap={ this.props.close }
/>,
<FlatButton
label="Submit"
primary={ true }
disabled={ ! this.state.title || ! this.state.url }
onTouchTap={ this.submit }
/>,
];
return (
<Dialog
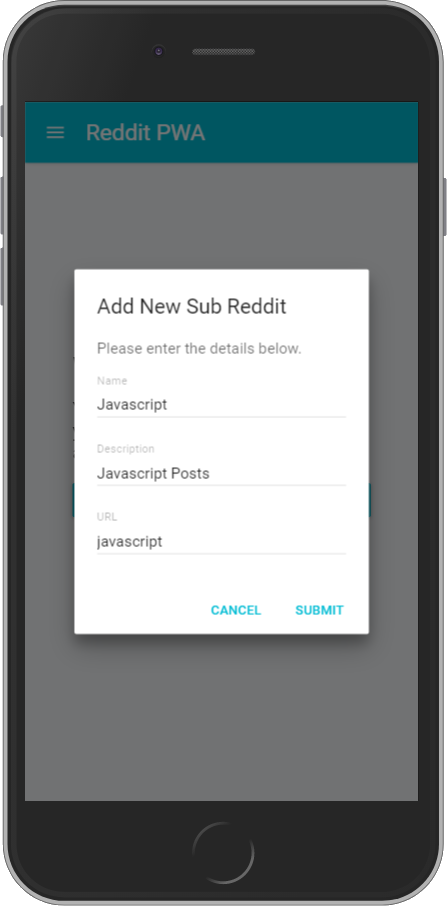
title="Add New Sub Reddit"
actions={ actions }
modal={ true }
open={ this.props.open }
>
<p>Please enter the details below.</p>
{ this.state.processing &&
<div>
<Loading />
</div>
}
{ ! this.state.processing &&
<div>
<TextField
floatingLabelText="Name"
hintText="JavaScript"
fullWidth={true}
defaultValue={ this.state.title }
onChange={ (event,newValue) => { this.updateField('title', newValue) } }
autoFocus={true} />
<TextField
floatingLabelText="Description"
hintText="JavaScript"
fullWidth={true}
defaultValue={ this.state.description }
onChange={ (event,newValue) => { this.updateField('description', newValue) } } />
<TextField
floatingLabelText="URL"
hintText="javascript"
fullWidth={true}
onChange={ (event, newValue) => { this.updateField('url', newValue) } }
errorText={ this.state.invalid_url && 'Please enter a valid URL.' }
defaultValue={ this.state.url } />
</div>
}
</Dialog>
)
}
}
export default SubRedditModal;
This component shows the form for adding new sub reddit.
Let's create of Loading component, Create a file named src/components/Loading.js and place this code inside it.
'use strict';

import React from 'react';
import RefreshIndicator from 'material-ui/RefreshIndicator';


const Loading = (props) => {

	const style = {
		container: {
			textAlign: 'center',
			marginTop: 60,
		},
		refresh: {
			display: 'inline-block',
			position: 'relative',
		},
		text: {
			marginTop: 10
		}
	};


	return (
		<div style={ style.container }>
			<RefreshIndicator
				size={40}
				left={10}
				top={0}
				status="loading"
				style={ style.refresh }
			/>
			{ props.text &&
				<div style={ style.text }>{ props.text }</div>
			}
		</div>
	)

}

export default Loading;
And we're done with our Dashboard Page.
If you open the homepage now, You will see something like this (If you see any errors, that's perfectly alright as we still have to make few changes.)
Step #6: Updating our SubReddit Page
Edit the file src/ui/pages/SubReddit.js and add this code in it., It's highly inspired by the code/methods specified here https://developers.google.com/web/fundamentals/instant-and-offline/offline-cookbook/
'use strict';

import React from 'react';
import Paper from 'material-ui/Paper';
import _ from 'lodash';

import { List } from 'material-ui/List';
import Subheader from 'material-ui/Subheader';
import SubRedditPost from 'app/components/SubRedditPost';

import DB from 'app/utils/DB';
import Loading from 'app/components/Loading';


class SubReddit extends React.Component {

	constructor(props) {
		super(props);
		const current_subreddit_url = _.replace( this.props.location.pathname, '/', '' );
		this.state = {
			subreddit: {},
			url: current_subreddit_url,
			loading: true,
			error: false,
			posts: [],
		};
		this.findSubRedditByURL = this.findSubRedditByURL.bind(this);
		this.fetchPosts = this.fetchPosts.bind(this);
		this.updatePosts = this.updatePosts.bind(this);
	}


	componentDidMount() {
		this.findSubRedditByURL();
		this.fetchPosts();
	}


	findSubRedditByURL() {
		DB.findSubRedditByURL( this.state.url )
		.then( (record) => {
			if ( record ) {
				this.setState({ subreddit: record });
			}
		});
	}


	updatePosts( raw ) {
		const data = raw.data.children;
		const records = [];
		data.map( record => {
			const data = record.data;
			const rec = {
				id: data.id,
				title: data.title,
				url: data.url,
				content: data.selftext,
				author: data.author,
				ups: data.ups,
				downs: data.downs,
			}
			records.push( rec );
		});
		this.setState({ loading: false, posts: records });
	}


	// https://developers.google.com/web/fundamentals/instant-and-offline/offline-cookbook/
	fetchPosts() {
		let networkDataReceived = false;
		const URL = `https://www.reddit.com/r/${ this.state.url }.json`;
		let this_component = this;

		const networkUpdate = fetch( URL )
			.then( (response) => {
				return response.json();
			})
			.then( (data) => {
				networkDataReceived = true;
				this_component.updatePosts( data );
			});

		// fetch cached data
		caches.match( URL )
			.then(function(response) {
				if ( ! response ) throw Error("No data");
				return response.json();
			})
			.then(function(body) {
				// don't overwrite newer network data
				if ( ! networkDataReceived ) {
					this_component.updatePosts( body );
				}
			})
			.catch(function() {
				// we didn't get cached data, the network is our last hope:
				return networkUpdate;
			})
			.catch(function(error) {
				this_component.setState({ loading: false, error: true });
			});


	}


	render() {

		return (
			<Paper style={{ padding: 20 }} zDepth={1} rounded={false}>
				<h1 style={{ paddingLeft: 16 }}>{ this.state.subreddit.title }</h1>
				{ this.state.subreddit.description && <div style={{ paddingLeft: 16, marginTop: 10 }}>{ this.state.subreddit.description }</div> }

				{ this.state.loading &&
					<Loading />
				}

				{ this.state.error &&
					<div style={{ padding: 20, backgroundColor: '#FFCDD2', marginTop: 25 }}>
						<h3>Error Occoured.</h3>
						<p>Please enter a valid URL.</p>
					</div>
				}


				{ ! this.state.loading && ! this.state.error &&
				<List>
					<Subheader style={{ textTransform: 'uppercase' }}>All Posts</Subheader>
					{ this.state.posts.map( item => <SubRedditPost key={ item.id } data={ item } /> ) }
				</List>
				}


			</Paper>
		)

	}

}

export default SubReddit;
That's a lot of code, What's going on here?
Glad you asked.
In the constructor, We find the current path, remove / from it and set it as our url: current_subreddit_url
When this component is mounted, We call the this.findSubRedditByURL(); and this.fetchPosts(); and this takes care of fetching the data from our local database for the current sub reddit as well as load the posts for this subreddit.
updatePosts method is provided with the RAW API Data which it iterates over and keeps only the fields we're interested in and saves it in the components state.
fetchPosts method tries to get the data from cache and also makes API call to fetch the latest data from server, If the user is online and we fetch the data successfully we show it to the user if not we fetch it from cache.
Whether this method is good or not Will depend on your project and how you want to handle the offline connectivity., There are many different ways of doing this, I recommend you do more research on this.
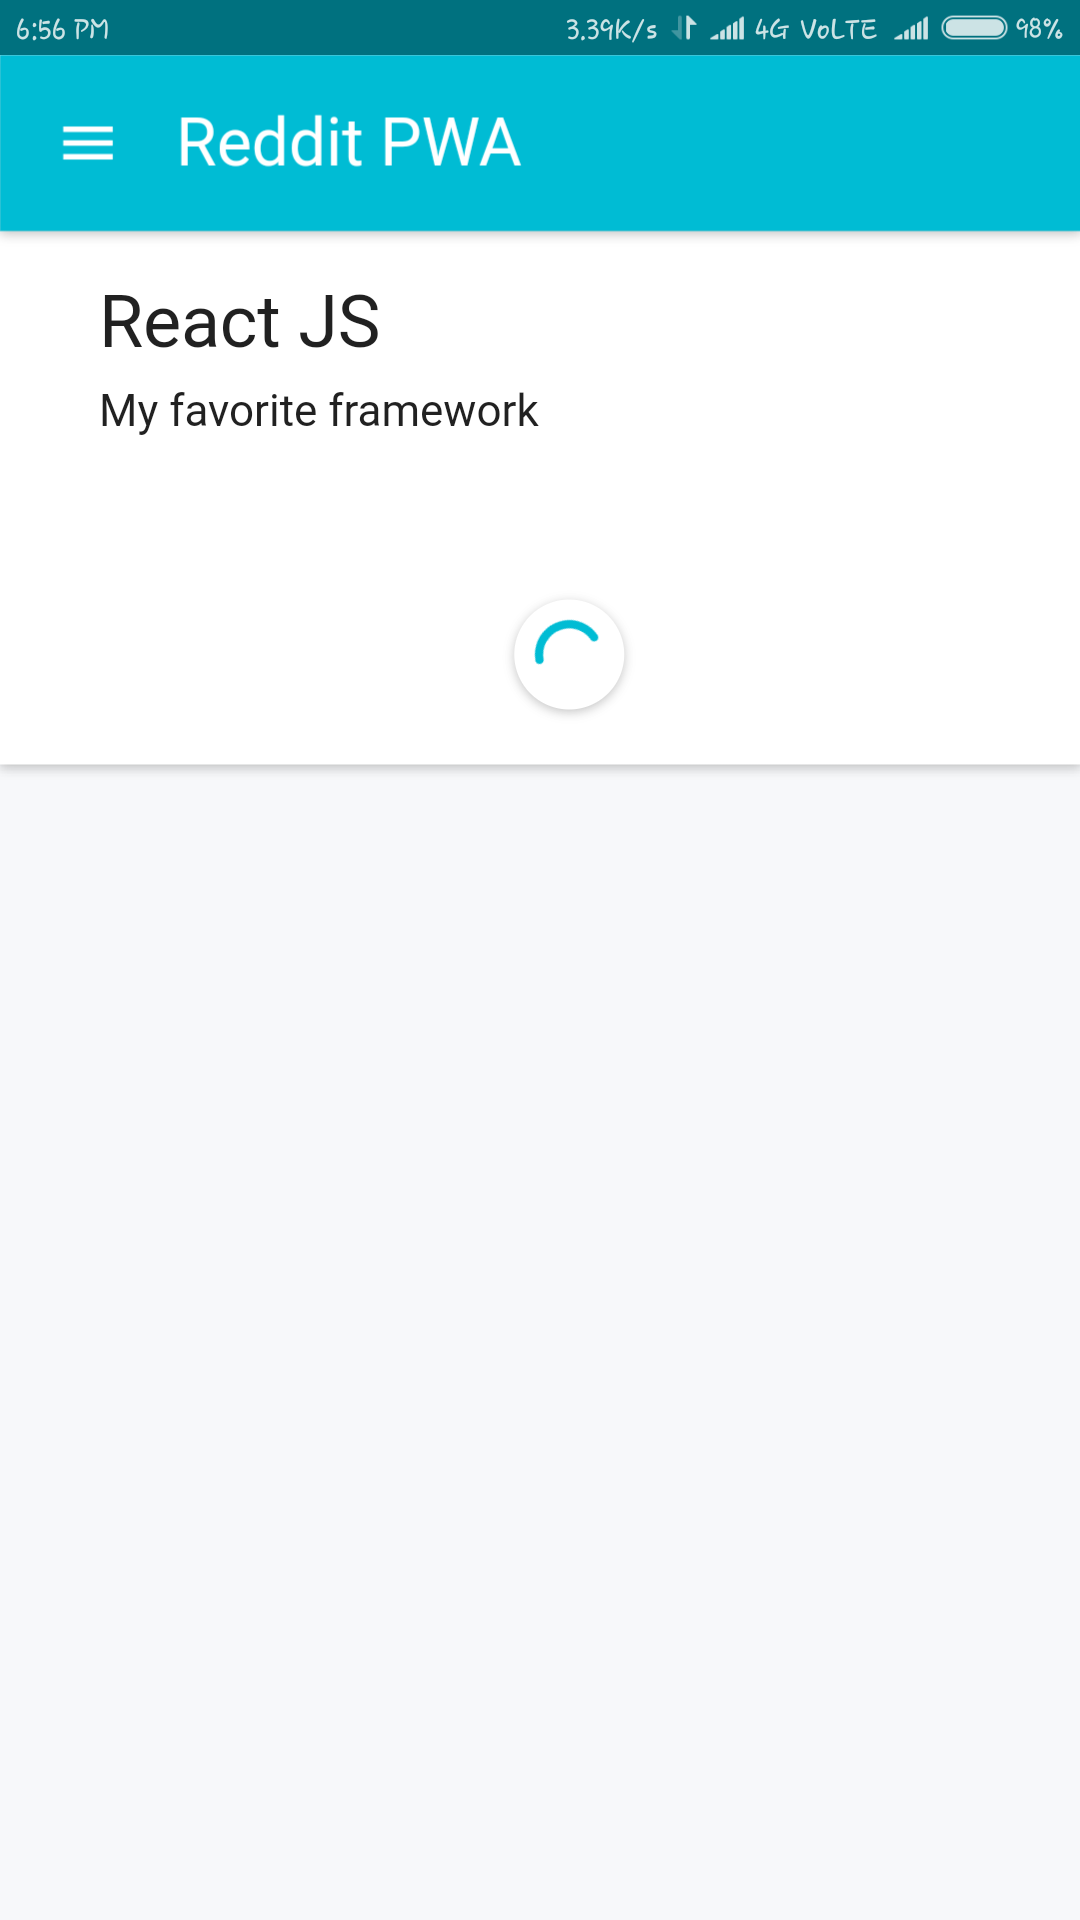
Finally, In our render method, If the data is loading we show the Loading component, If the data is found we show the List component, If it fails we show the Error component.
Step #7: Creating our Manifest File
We need Icon for our application, I recommend you create an icon of size 512px x 512px and use some generators to generate the icon in different sizes for different devices.
If you want to generate your Manifest file, Just open https://app-manifest.firebaseapp.com/, Upload your Application Icon, Enter application details and Generate .ZIP, This will generate the manifest file., Or you could simply write it yourself.
Create a file named public/manifest.json and add this code in it.
{
  "name": "Reddit PWA",
  "short_name": "Reddit PWA",
  "theme_color": "#00bcd4",
  "background_color": "#00bcd4",
  "display": "standalone",
  "scope": "/",
  "start_url": "/",
  "icons": [
    {
      "src": "images/icons/icon-72x72.png",
      "sizes": "72x72",
      "type": "image/png"
    },
    {
      "src": "images/icons/icon-96x96.png",
      "sizes": "96x96",
      "type": "image/png"
    },
    {
      "src": "images/icons/icon-128x128.png",
      "sizes": "128x128",
      "type": "image/png"
    },
    {
      "src": "images/icons/icon-144x144.png",
      "sizes": "144x144",
      "type": "image/png"
    },
    {
      "src": "images/icons/icon-152x152.png",
      "sizes": "152x152",
      "type": "image/png"
    },
    {
      "src": "images/icons/icon-192x192.png",
      "sizes": "192x192",
      "type": "image/png"
    },
    {
      "src": "images/icons/icon-384x384.png",
      "sizes": "384x384",
      "type": "image/png"
    },
    {
      "src": "images/icons/icon-512x512.png",
      "sizes": "512x512",
      "type": "image/png"
    }
  ]
}
Everything is self explanatory here, you just enter the name, select theme and background color, specify how you want to display the app, enter start url and the path to all the icons.
Step #8: Creating our Production Webpack Config File and Adding our Service Worker
Create a file named scripts/webpack.config.pro.js and place this code inside it.
'use strict';

const webpack = require('webpack');
const path = require('path');

const BUILD_DIR = path.resolve(__dirname, '../', 'public/scripts');
const APP_DIR = path.resolve(__dirname, '../', 'src');
const PUBLIC_DIR = path.resolve(__dirname, '../', 'public');

const ExtractTextPlugin = require("extract-text-webpack-plugin");
const HTMLWebpackPlugin = require('html-webpack-plugin');

const InlineManifestWebpackPlugin = require('inline-manifest-webpack-plugin');
const CompressionPlugin = require("compression-webpack-plugin");
const OfflinePlugin = require('offline-plugin');


const VENDOR_LIBS = [
	'react',
	'react-dom',
];


const WebpackConfig = {

	entry: {
		bundle: APP_DIR + '/app.js',
		vendor: VENDOR_LIBS
	},
	output: {
		path: BUILD_DIR,
		filename: '[name].[chunkhash].js',
		chunkFilename: '[name].[chunkhash].chunk.js',
		publicPath: '/scripts/',
	},

	module: {
		rules: [
			{
				enforce: 'pre',
				test: /.js$/,
				exclude: /node_modules/,
				loader: 'eslint-loader',
				include : APP_DIR
			},
			{
				loader: 'babel-loader',
				test: /.js$/,
				exclude: /node_modules/,
				include : APP_DIR,
				options: {
					presets: [
						[
							'env',
							{ modules: false }
						],
						'react'
					],
					plugins: [ 'syntax-dynamic-import' ]
				}
			},
			{
				use: ExtractTextPlugin.extract({
					use: 'css-loader',
				}),
				test: /.css$/
			},
			{
				loader: 'json-loader',
				test: /.json$/
			}
		],
	},

	plugins: [
		new ExtractTextPlugin({
			filename: 'styles.css',
			allChunks: true
		}),
		new webpack.optimize.CommonsChunkPlugin({
			names: ['vendor', 'manifest'],
			minChunks: Infinity,
		}),
		new HTMLWebpackPlugin({
			inject: false,
			filename: '../index.html',
			template: 'scripts/index.ejs',
			minify: {
				collapseBooleanAttributes: true,
				removeComments: true,
				collapseWhitespace: true,
			}
		}),


		new InlineManifestWebpackPlugin({
			name: 'webpackManifest'
		}),
		new webpack.optimize.AggressiveMergingPlugin(),
		new webpack.optimize.UglifyJsPlugin({
			beautify: false,
			mangle: {
				screw_ie8: true,
				// keep_fnames: true
			},
			compress: {
				warnings: false,
				screw_ie8: true
			},
			comments: false
		}),
		new CompressionPlugin({
			asset: "[path].gz[query]",
			algorithm: "gzip",
			test: /.(js|html|css)$/,
			threshold: 10240,
			minRatio: 0.8
		}),
		new OfflinePlugin({
			caches: 'all',
			relativePaths: false,
			publicPath: '/scripts/',
			ServiceWorker: {
				events: true,
				entry: './scripts/sw-handler.js',
				output: '../sw.js',
				publicPath: '/sw.js',
				navigateFallbackURL: '/'
			},
			AppCache: {
				events: true,
				output: '../appcache',
				publicPath: '/appcache/'
			},
			externals: [
				'/',
				'https://fonts.googleapis.com/css?family=Roboto:300,400,500',
			],
		}),


	],

	resolve: {
		alias: {
			app: APP_DIR,
			public: PUBLIC_DIR
		},
	},


};

module.exports = WebpackConfig;
It's almost same as our webpack.config.dev.js, Except here we have made use of few more plugins.
InlineManifestWebpackPlugin will inline our manifest file code in our html file, This will save us one network request.
UglifyJsPlugin will uglify, compress our code and also remove all the console.log() statements.
CompressionPlugin will create gzip versions for our generated javascript files, This will lower our script size and will be sent lot faster when requested.
OfflinePlugin
This is the plugin that takes the pain out of creating our own Service Workers.
While it's easy to write service workers, We can very easily run into problems if we don't know what we're doing, And at the same time if our scripts are generated dynamically, We will manually have to enter the scripts names and update our Service Worker version everytime we make any changes.
This plugins does all this for us automatically.
new OfflinePlugin({
	caches: 'all',
	relativePaths: false,
	publicPath: '/scripts/',
	ServiceWorker: {
		events: true,
		entry: './scripts/sw-handler.js',
		output: '../sw.js',
		publicPath: '/sw.js',
		navigateFallbackURL: '/'
	},
	AppCache: {
		events: true,
		output: '../appcache',
		publicPath: '/appcache/'
	},
	externals: [
		'/',
		'https://fonts.googleapis.com/css?family=Roboto:300,400,500',
	],
}),
We just specify what we want to cache, Where we want our service worker to be located and what its filename should be and also if there are any external assets we want to cache.
I used the above configuration, This will cache all of our assets generated by webpack, This will also cache the font we've used in the app and the root path.
This is all good, But we need to specify how we want to cache our API response, As those are not static and different user will be interested in different subreddits.
It's very easy, Let's create a file named scripts/sw-handler.js (we've already included this file in our OfflinePlugin config).
Any code we add in this file will be included in our service worker., Add this code in it
var REDDT_URL_CACHE = 'reddit-url-cache-v1';

// https://developers.google.com/web/fundamentals/instant-and-offline/offline-cookbook/
self.addEventListener('fetch', function(event) {
	event.respondWith(
		caches.open(REDDT_URL_CACHE).then(function(cache) {
			return fetch(event.request).then(function(response) {
				cache.put(event.request, response.clone());
				return response;
			});
		})
	);
});
This code will cache any request passed through it first and then send it's response back to the user.
This might not be a good fit for your app, Please do your own research and find the best method that suits your needs.
And with this we are done.
Step #9: Building and Testing our Application
Open terminal and run the command yarn build:pro, Once the build is completed, run the command yarn start and open the URL in the browser, In this case it's http://localhost:1234
If you encountered any error, Please checkout the Repository for this tutorial or comment below.
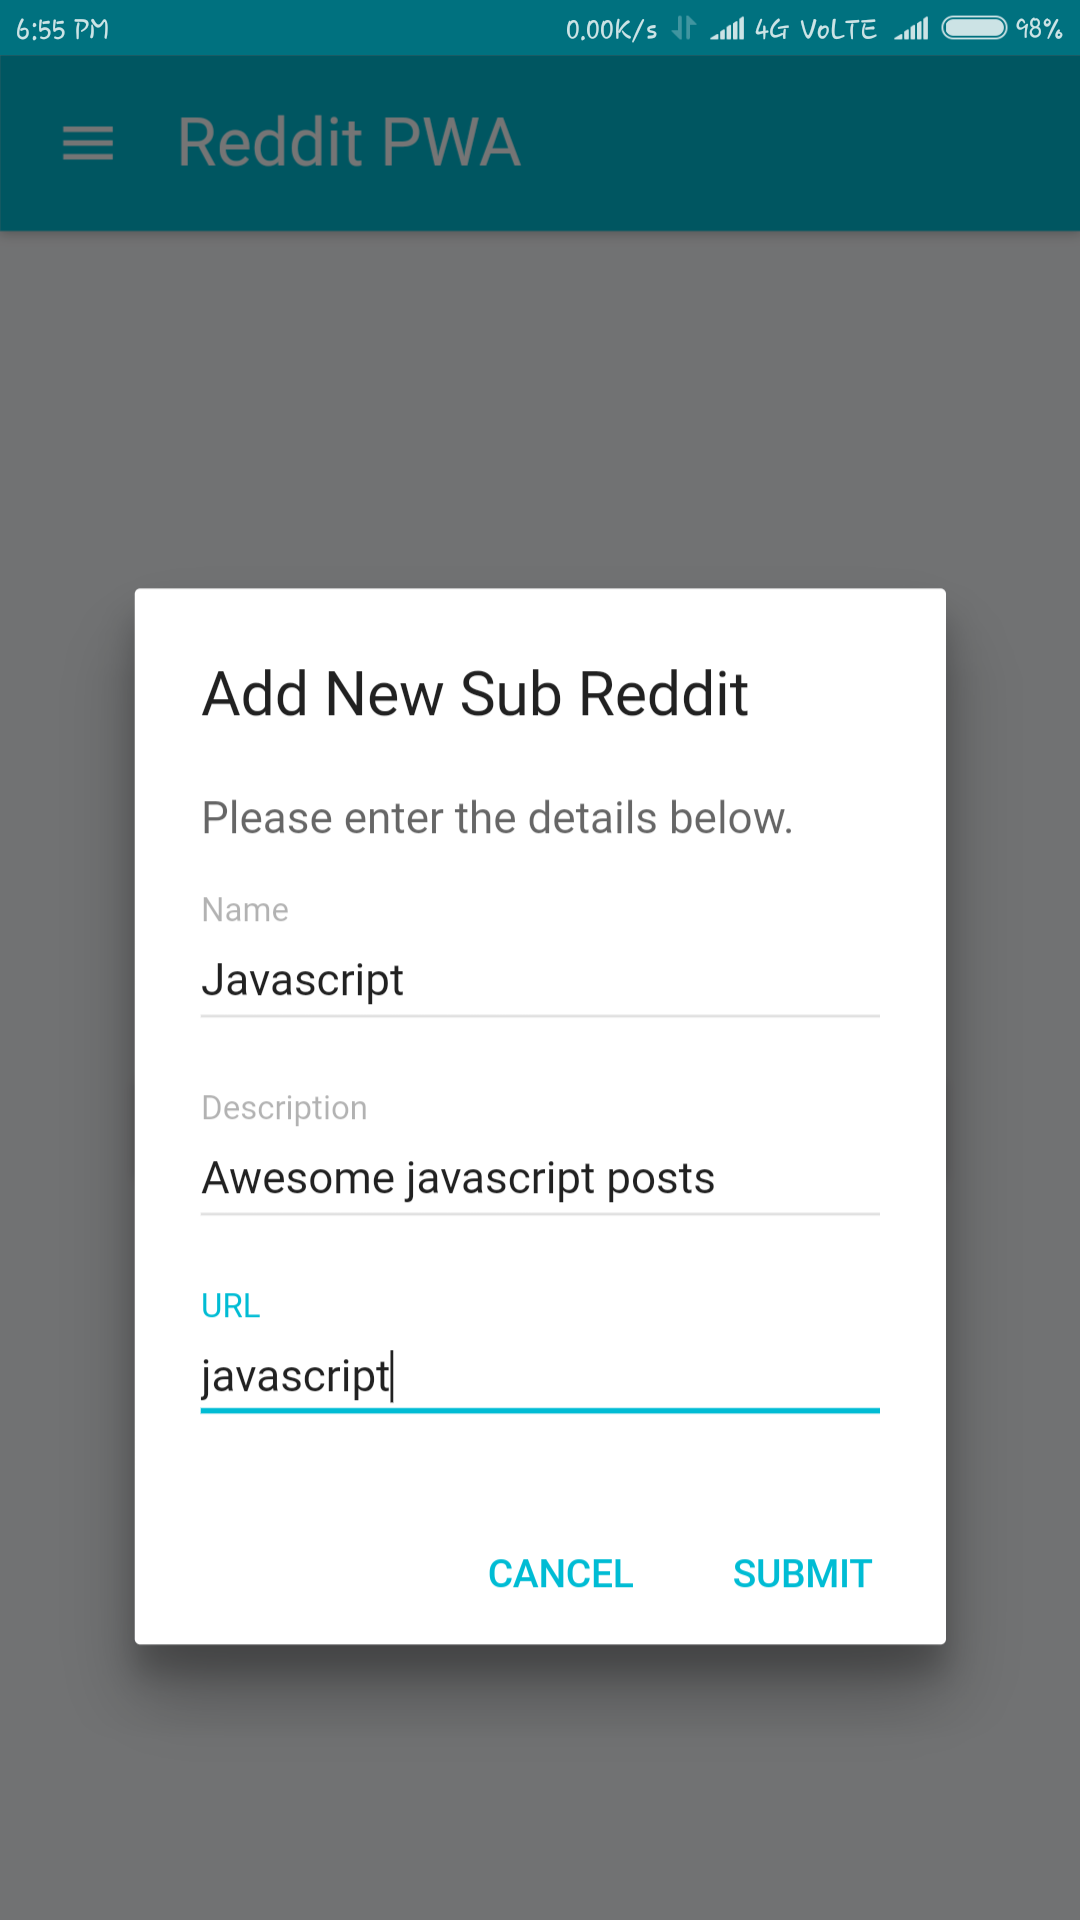
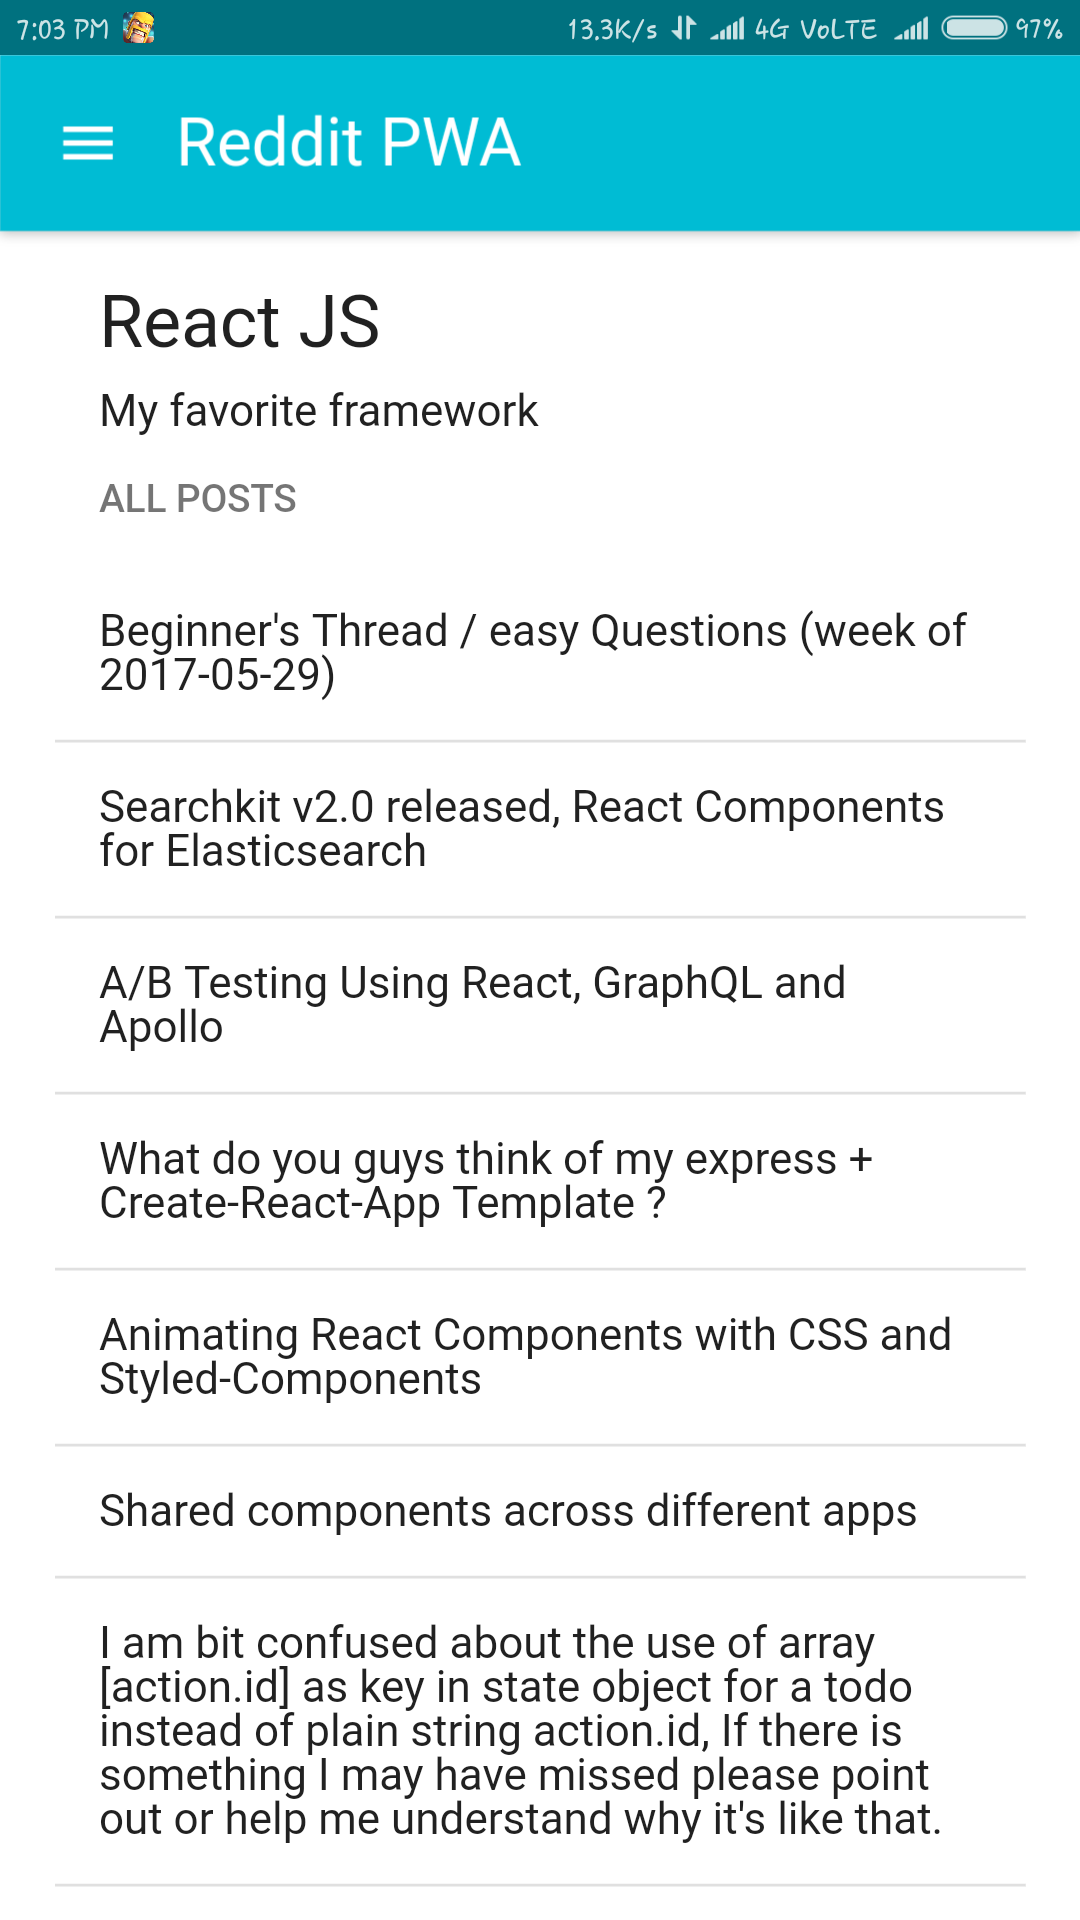
You should see something like this, Click on the + icon in bottom right to open Modal for adding new sub reddit, Enter a subreddit name with valid URL and then click on the subreddit to view its posts.
For the first time, The content will be loaded from the server after that if the network is available then it will load the data from server otherwise from the cache.
In Chrome Developer Tools, Network Tab, Check the offline checkbox to test how app behaves when using it offline.
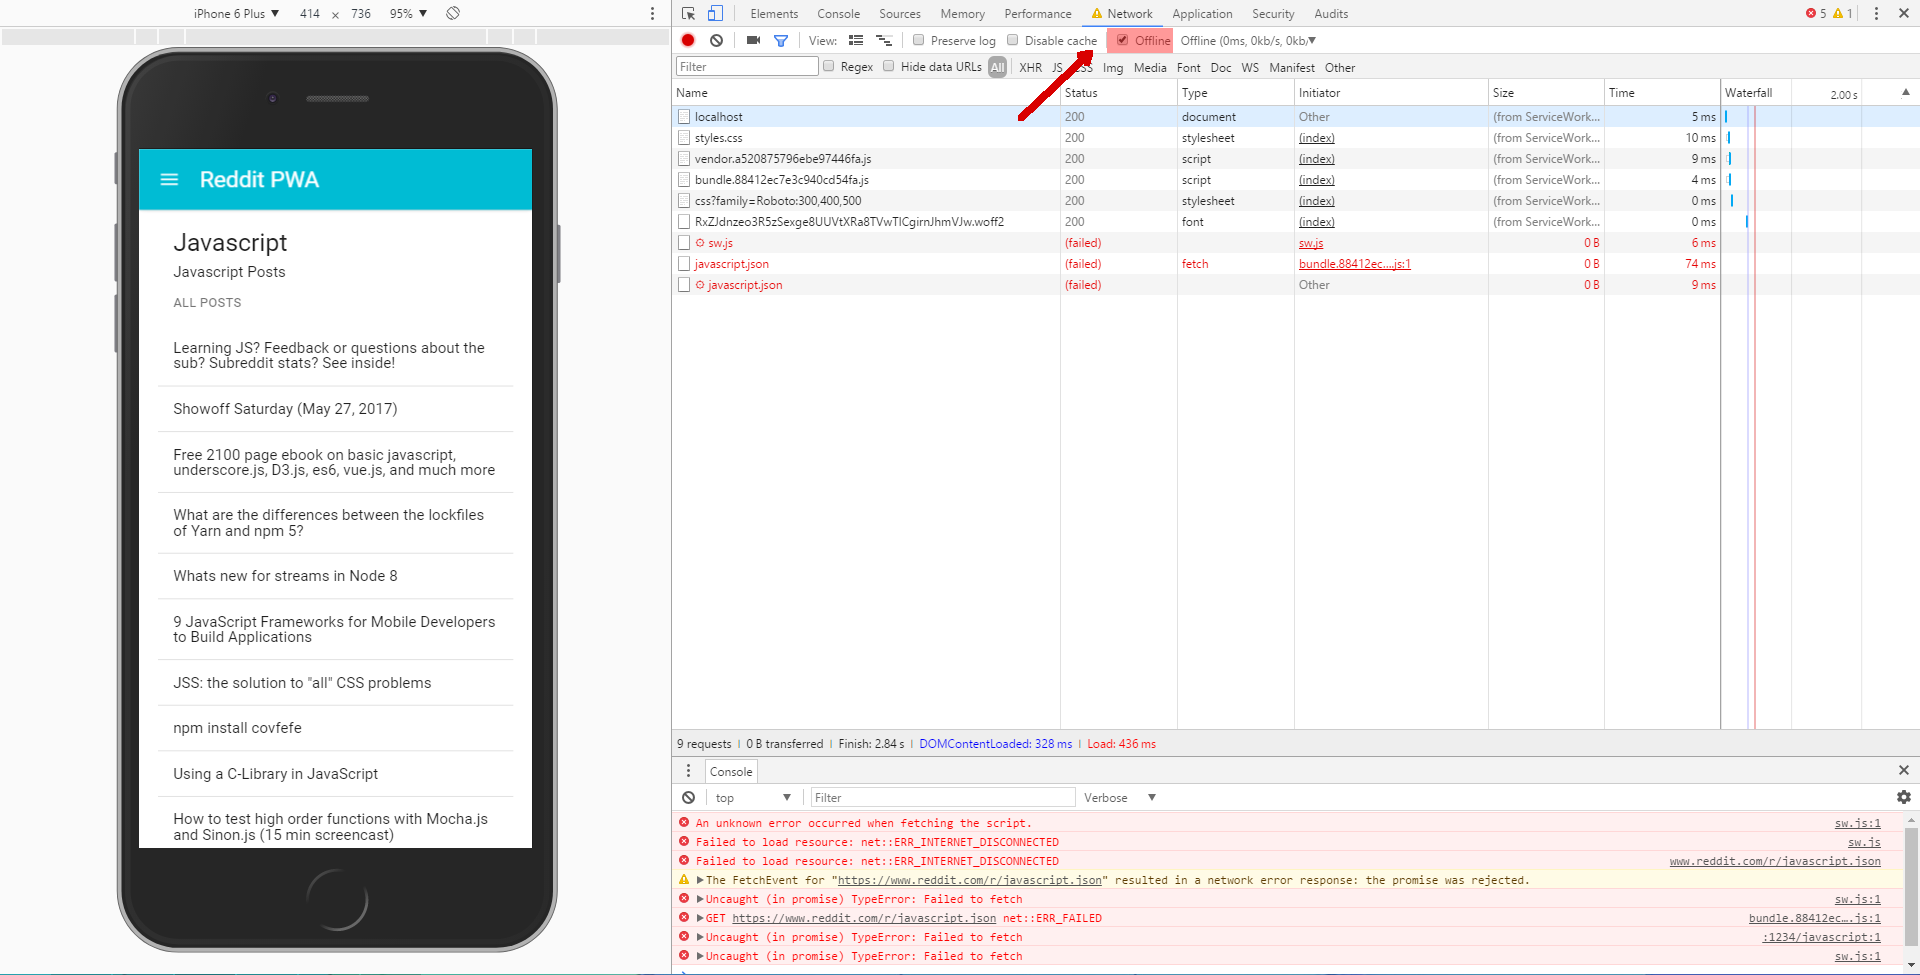
Great, Our app works offline. What about the mobile device?
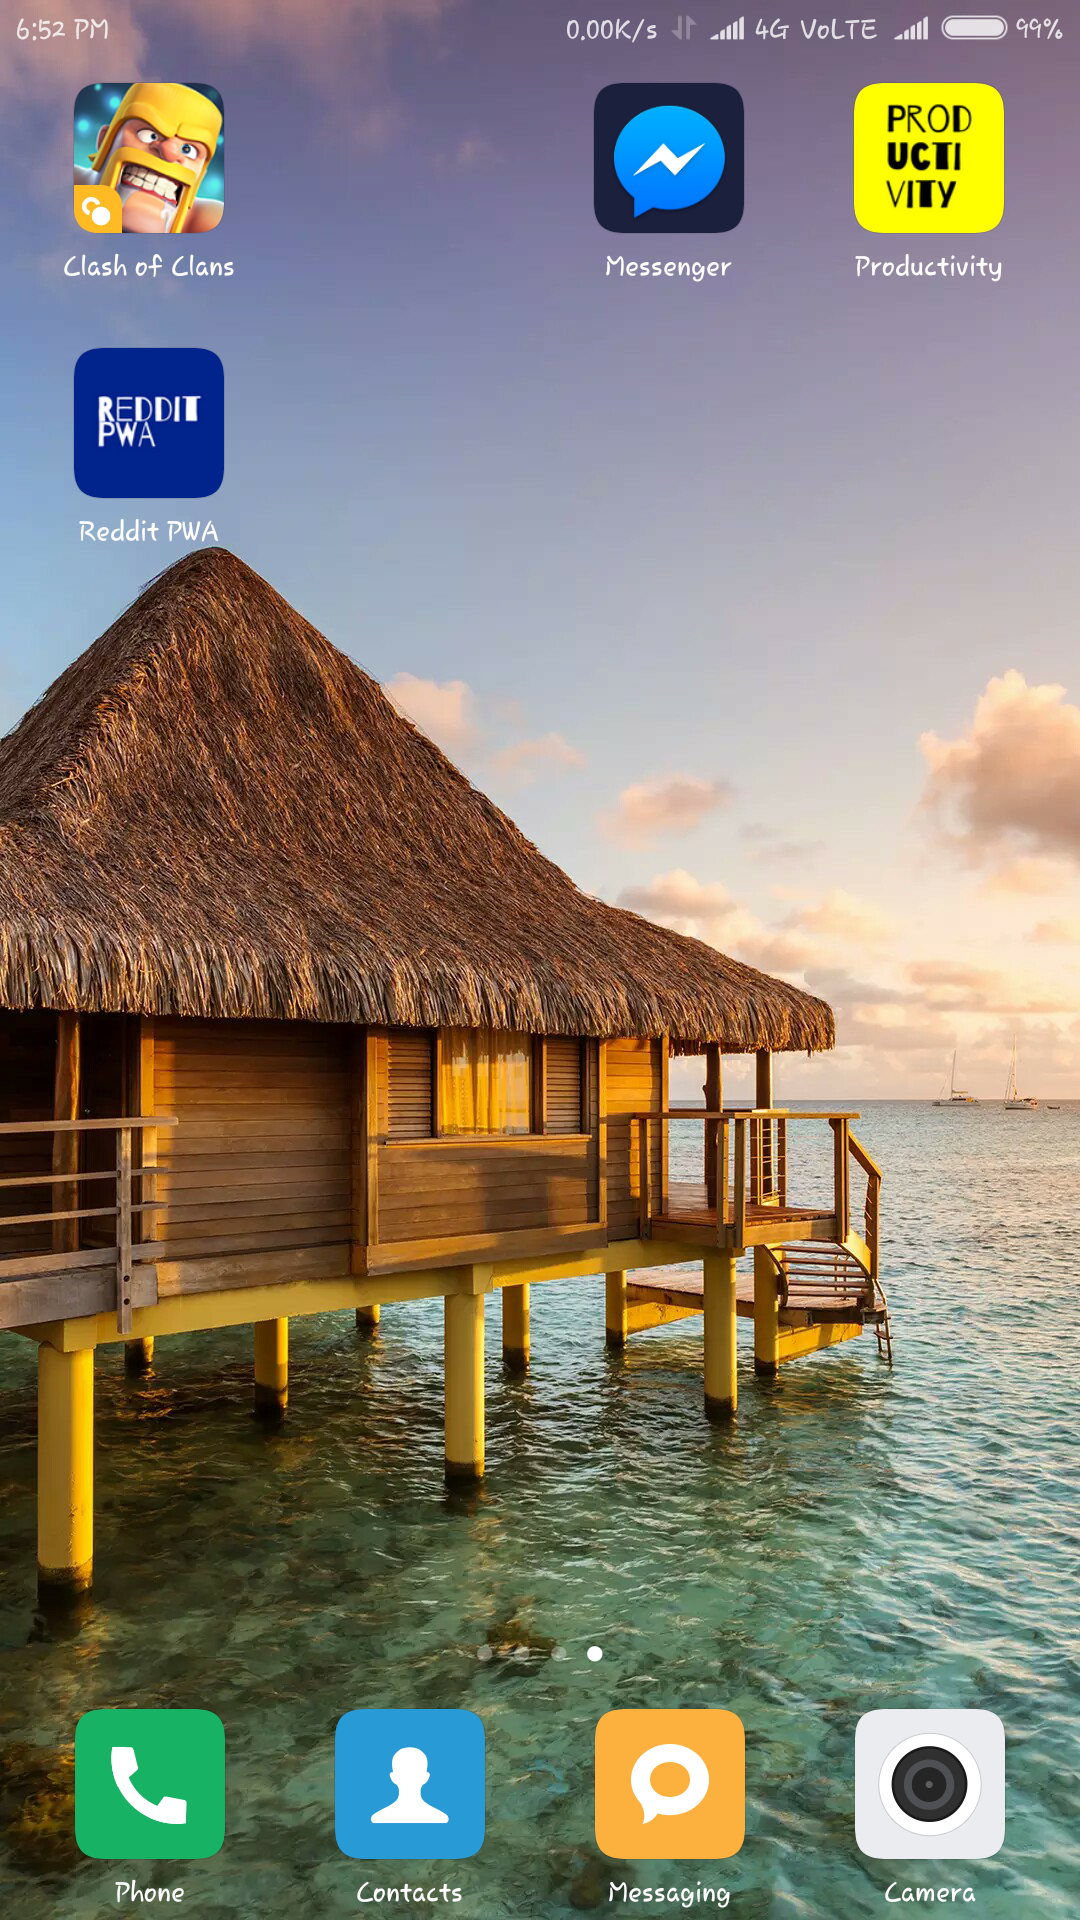
Open the URL https://reddit-pwa.firebaseapp.com in your mobile device and check if you see Add to Homescreen popup, If you do click on it and a new shortcut will appear in your homescreen.
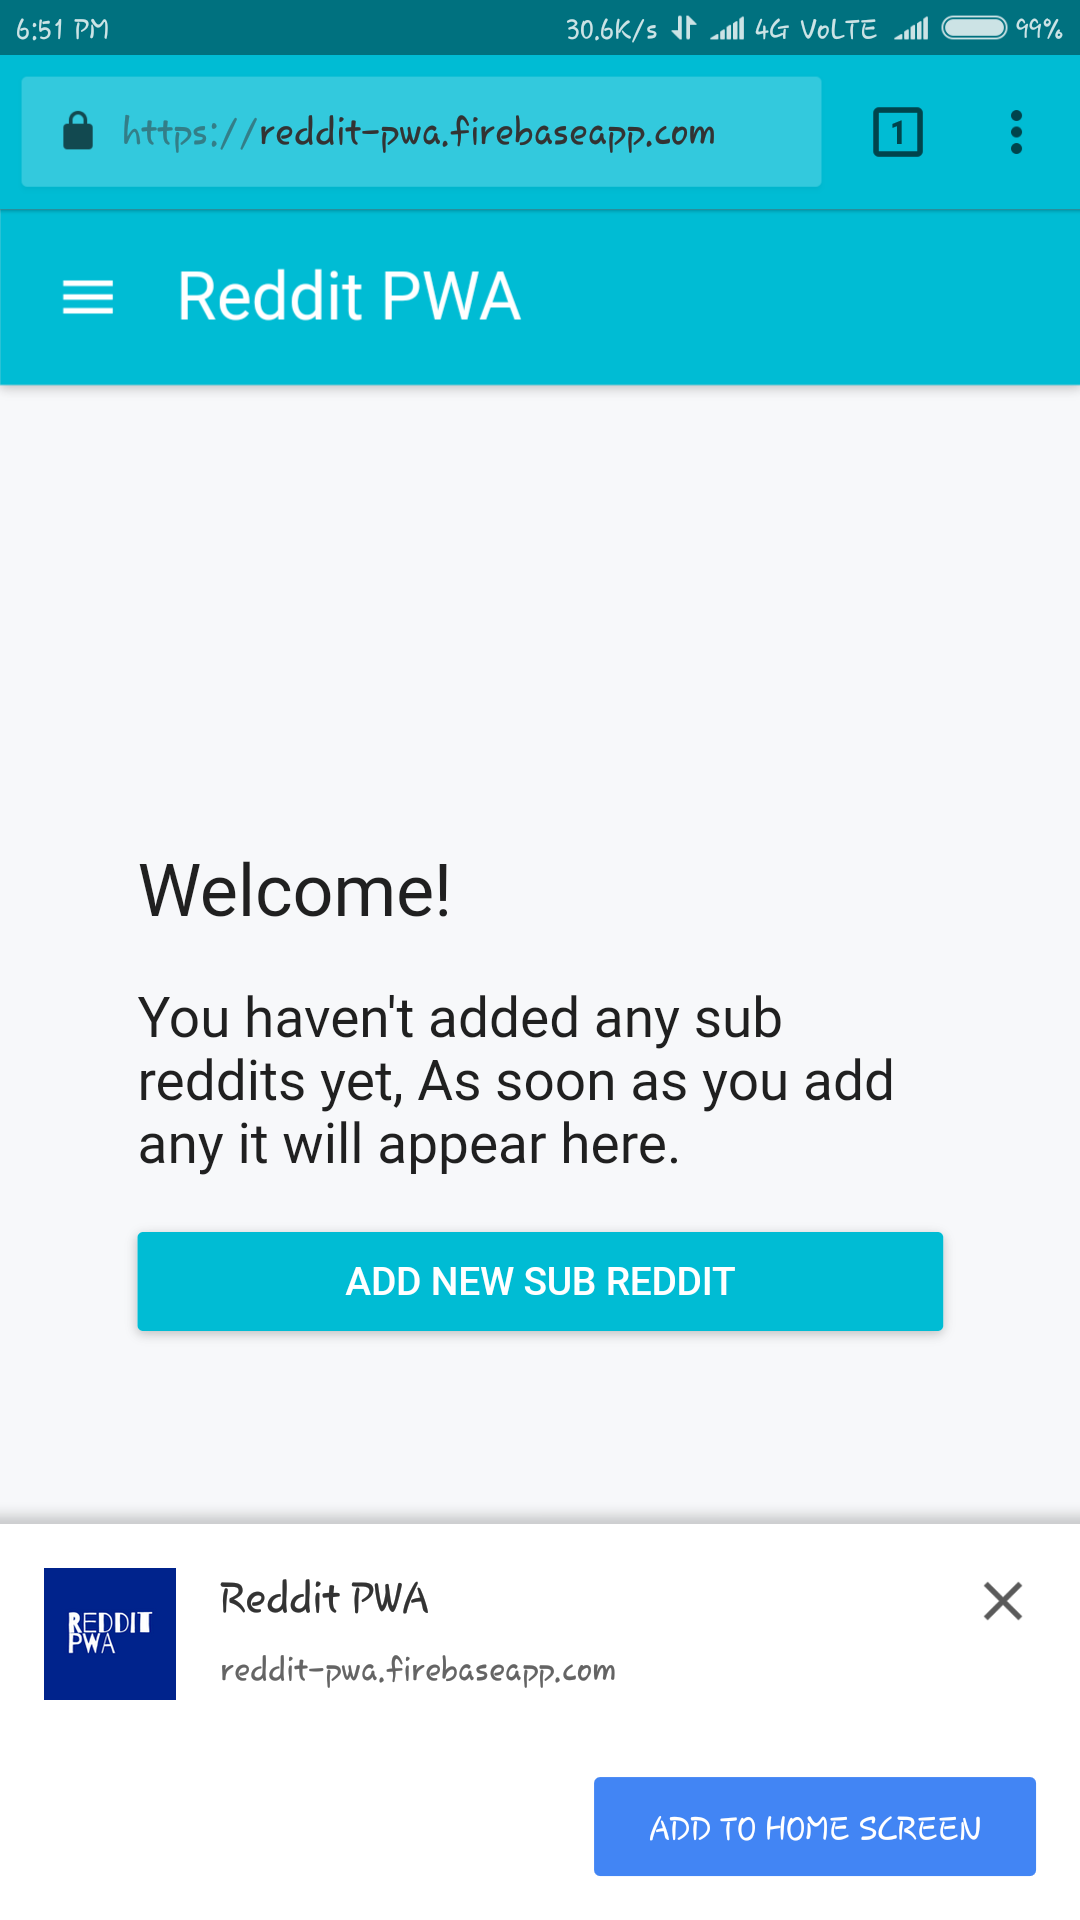

Test the app by disabling your data and it should work as expected.
And don't worry, We will fix the icon and customize our app in later tutorial(s).
Conclusion
Our app is more dynamic now and it shows content from cache when offline., But we're not done yet.
Let's continue in our next Tutorial.